Mixing patterns in your home decor is a fantastic way to inject personality and create a truly unique space. When done right, it can elevate the entire feel of a room, adding layers of depth and interest that plain colors simply can’t match. If you’re unsure how to start, don’t worry – I’ve got you covered! Join me as I walk you through my five-step process for mixing and matching patterns that you’ll absolutely love.
Step #1: Start With a Color Palette
Before we dive into the exciting world of patterns, let’s start with the foundation: your color palette. Whether you already have a palette you love or we’re building one from scratch, I’ll work with you to ensure it perfectly suits your space and style.
I always encourage clients to explore their color and style preferences during our intake process and before we start designing. Flipping through magazines, browsing Pinterest, or drawing inspiration from a favorite piece of art can really spark ideas. Consider compiling these inspirations into an idea book or board. While not necessary, as we can figure these out during our process, this prep work helps us hit the ground running, maximizing our time together to create a space that truly feels like you.

Step #2: Build on Your Design Bridge
A “design bridge” is a key piece in your decor, like a striking piece of artwork, a colorful rug, or an eye-catching wallpaper, that pulls all the different elements together. It acts like a conductor, harmonizing various colors and patterns into a cohesive look.
During our design process, I’ll help you either identify an existing item in your home that can serve as this bridge, or we’ll find a new piece that perfectly captures the essence of your space. This approach ensures that every design element feels intentional and interconnected, creating a beautifully unified room.

Step #3: Play with Scale
In the world of design, patterns come in a delightful variety of scales: small, medium, and large. The trick to creating a cohesive look is to mix these scales so that they complement rather than compete with one another. I love to blend a large dramatic print with medium and smaller patterns or solids, ensuring that each has enough space to shine without overpowering the room. This layering technique helps us achieve a balanced, inviting space that feels just right.

Step #4: Test the Design
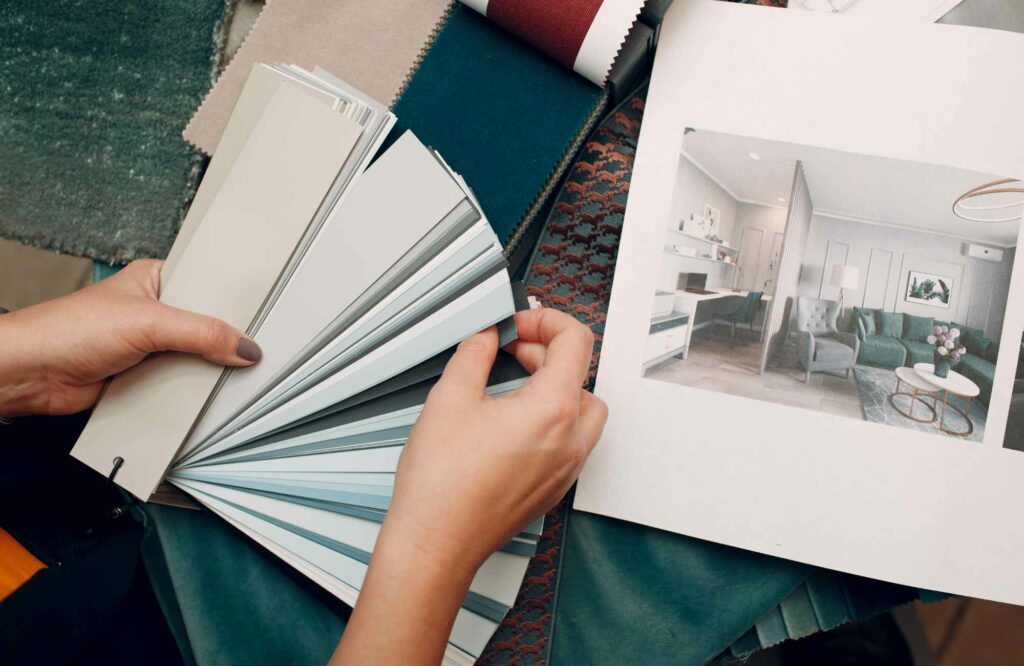
During our client intake process, we go through a series of exercises to determine your likes and dislikes, which include your inclinations toward certain patterns or colors. We keep this in mind while designing. To ensure you’re as excited about the overall design and the patterns as I am, we present the design using a mix of concept or storyboards, 3D renderings, and swatches to give you a tangible feel for the materials and designs. This approach allows you to see how everything works together, ensuring the final setup will be something you love.

Step #5: Bring Your Vision to Life
Install Day is like the grand finale, where all our planning and choices come to life, and it’s genuinely thrilling! Clients often express sheer delight as they see everything together – all the different pieces, the diverse patterns, and colors – harmonize in their space, transforming it completely.
What surprises them the most is how the different scales and textures of the patterns create a rich, layered look that feels both dynamic and cohesive. Witnessing the transformation and seeing their vision realized often turns this day into one of the most memorable moments in our design journey together!

I love mixing patterns because it transforms any space from ordinary to extraordinary. The right combination of patterns can infuse a room with energy and personality, making it truly one-of-a-kind. Each project where I get to play with patterns is a reminder of how these details can dramatically elevate the aesthetic and vibe of a space.
If you find you need a hand with the palette or styling your space, don’t be shy! Just reach out and we’d be happy to help.
Warmly,
Sheeja

